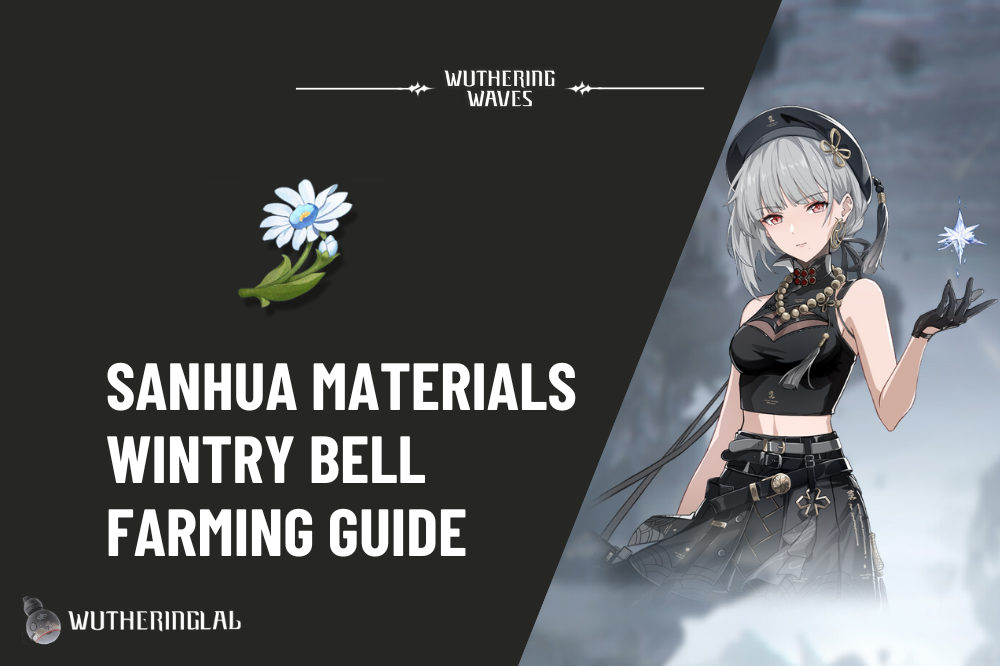

Sanhua Build Guide


Level: 1
HP
ATK
DEF
Energy
100
Update Log: Updated Sanhua’s Weapons Comparison.
Sanhua Overview
In Wuthering Waves, Sanhua is a 4-Stars Glacio character and uses Sword during the fight.
Sanhua, a steadfast and dependable protector of Jinhsi, possesses a calm and collected demeanor. She perceives the world through a unique lens, and her body temperature remains lower than average. With her special ability, known as Forte, she can lower the ambient temperature and summon snow.
To maintain emotional equilibrium and prevent Overclocking, Sanhua finds solace in the art of swordplay. This enables her to gracefully master her Forte and lighten the strain on her body.
Sanhua Review
Sanhua is a 4-Star Glacio Character in Wuthering Waves.
Although Sanhua has burst capabilities, the overall damage is not high. In Sanhua’s output cycle, Resonance Skill damage and Resonance Liberation account for approximately 51% and 41%, respectively.
Although Resonance Skill damage is slightly higher, there is a risk of missing in actual combat. Sanhua has a unique Forte Circuit trigger mechanism similar to rhythm games, and hitting enemies can cause a slight time-stopping effect.
Pros
- Sanhua has the fastest Concerto Energy and Resonance Energy acquisition efficiency in the game, making it the most versatile and best-feeling support in the current version.
- After using the Intro Skill, Sanhua only needs 3 seconds to fully charge Concerto Energy and trigger QTE, activating the Main DPS for output. Our team composition recommendations for various characters also show Sanhua’s high versatility.
Cons
- Sanhua S1’s activation is somewhat slow, creating a mismatch with Sanhua’s short output cycle rhythm.
- When using Heavy Attack: Detonate, there is a risk of missing and sudden death, requiring precise timing for output.
Sanhua Active Skills
Sanhua Skills Priority


Sanhua’s primary damage comes from Resonance Liberation, followed by Ice Burst from Forte Circuit and Heavy Attack. Next is the Resonance Skill. These are the three main sources of Sanhua’s damage.
Sanhua Burst Rotation
- Intro Skill
- Resonance Liberation
- Heavy Attack : Detonate(Hold the button until the cursor reaches the blue are on the Forte Gauge)
- Resonance Skill
- Heavy Attack : Detonate (Hold the button until the cursor reaches the blue are on the Forte Gauge)
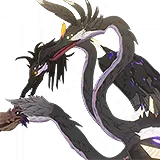
- Echo Skill (Impermanence Heron)
- Outro Skill (Switch to next character)
The Echo equipped is Impermanence Heron. This rotation aims to increase the blue zone for first and second Heavy Attack: Detonate. The downside is that you have to gamble on whether you can hit the enemies with both detonations. If you want to break the ice in one go, you can use Liberation followed by Skill right after entering, then use Heavy Attack: Detonate once to break it. However, the blue zone for the second Heavy Attack: Detonate will be much smaller. It’s important to ensure that the second Heavy Attack hits, otherwise, you won’t have enough Concerto Energy to switch to the next character.

|
Base Attack Lv:
|
|
|---|---|
Basic Attack
Sanhua performs up to 5 consecutive attacks, dealing Glacio DMG.
Heavy Attack
Sanhua consumes Stamina to launch attacks, dealing Glacio DMG.
Mid-air Attack
anhua consumes Stamina to perform a Mid-Air Plunging Attack, dealing Glacio DMG.
Dodge Counter
Use Basic Attack after a successful Dodge to attack the target, dealing Glacio DMG.

|
Resonance Skill Lv:
|
|
|---|---|
Sanhua sends an air blade to create 1 ‘Ice Prism’ on the ground, dealing Glacio DMG.

|
Resonance Liberation Lv:
|
|
|---|---|
Sanhua deals Glacio DMG and creates 1 ‘Glacier’.

|
Forte Circuit Lv:
|
|
|---|---|
Heavy Attack: Detonate
When holding Basic Attack, a cursor moves back and forth on the Forte Gauge. Release Basic Attack while cursor falls in the ‘Frostbite’ area, to perform Heavy Attack Detonate, dealing Glacio DMG considered as Heavy Attack damage.
Ice Burst
Sanhua’s Heavy Attack Detonate detonates all ‘Ice Thorns’, ‘Ice Prisms’ and ‘Glaciers’ within her attack range, dealing Glacio DMG. DMG done by Ice Burst is considered as Resonance Skill damage.
Frostbite Area
The ‘Frostbite’ area expands with every 1 stack of ‘Clarity’. ‘Clarity’ stacks up to 2 times.
Sanhua obtains 1 stack of ‘Clarity’ upon performing Basic Attack 5.
Sanhua obtains 1 stack of ‘Clarity’ upon casting Intro Skill Freezing Thorns.
Sanhua obtains 1 stack of ‘Clarity’ upon casting Resonance Skill Eternal Frost.
Sanhua obtains 2 stack(s) of ‘Clarity’ upon casting Resonance Liberation Glacial Gaze.
Upon casting Heavy Attack Detonate, all ‘Clarity’ is removed.
Sanhua Passive Skills

Sanhua Inherent Skill

Sanhua Inherent Skill
Sanhua Switch Skills

|
Intro Skill Lv:
|
|
|---|---|

Sanhua Stat Bonus
Sanhua Stat Bonus 1
Glacio DMG Bonus increased by 12%.
*All Bonus unlocked value
Sanhua Stat Bonus 2
ATK increased by 12%.
*All Bonus unlocked value
Sanhua Damage Composition
Sanhua Resonance Chain
If Sanhua’s Sequence 3 is calculated with a 70% uptime, the improvement is approximately 13%. The second largest improvement comes from Sequence 4, which provides a 10% increase. Sequence 6 further enhances Sanhua’s ability to support the entire team.
*The % increase is relative to the previous Resonance Chain. Sequence 2 is unrelated to damage.

Sanhua Sequence 1

Sanhua Sequence 2

Sanhua Sequence 3

Sanhua Sequence 4

Sanhua Sequence 5

Sanhua Sequence 6
Sanhua Build
Sanhua Best Glacio Echo set

Freezing Frost X 5
Main Echo
Sanhua Alternate Echo set

Freezing Frost X 2

Lingering Tunes X 2
Main Echo
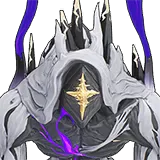
Sanhua Glacio Echo Skill Priority
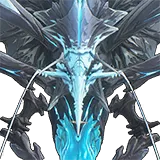
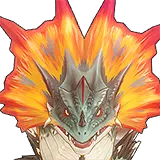
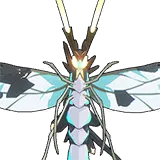
Since Sanhua’s Resonance Skill type damage also accounts for a significant portion (about 1/3), Lampylumen Myriad has a very high priority as the main Echo for Sanhua.
Sanhua Glacio Echo Stats Priority
Cost 4
Cost 3
Cost 1
Sub Stats
Sanhua Sub DPS Echo set

Moonlit Clouds X 5
Main Echo
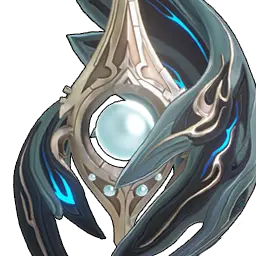
Sanhua Sub DPS Echo Skill Priority
This build mainly supports the Main DPS, with Impermanence Hero providing a 12% damage increase to the Main DPS.
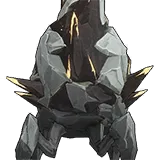
Geohide Saurian is a secondary choice because it is summon type Echo.
Sanhua Sub DPS Echo Stats Priority
Cost 4
Cost 3
Cost 1
Sub Stats
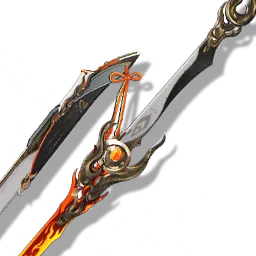
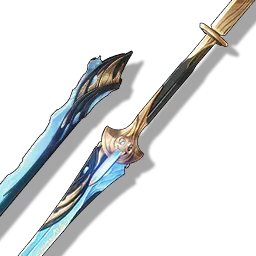
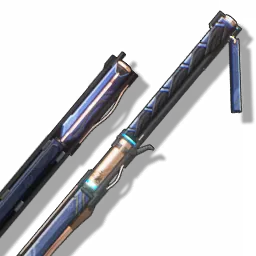
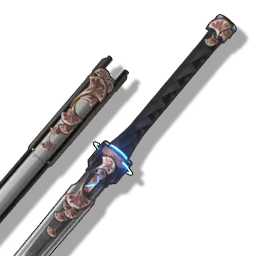
Sanhua Best Weapon
106%
Base ATK : 587
Secondary Stats – Crit DMG : 48.6%
ATK increased by 12%/15%/18%/21%/24%. The equipper gains 1 stack of Searing Feather upon dealing damage, which can be triggered once every 0.5s, and gains 5 stacks of the same effect upon casting Resonance Skill. Each stack of Searing Feather gives 4%/5%/6%/7%/8% additional Resonance Skill DMG Bonus for up to 14 stacks. All stacks will be removed within 10s after reaching the max stack.
100%
Base ATK : 587
Secondary Stat – Crit Rate : 24.3%
Increases Energy Regen by 12.8%/16%/19.2%/22.4%/25.6%. When Resonance Skill is released, increases ATK by 6%/7.5%/9%/10.5%/12%, stacking up to 2 time(s). This effect lasts for 10s.
97.2%
Base ATK : 412
Secondary Stat – ATK : 30.3%
When Intro Skill is released, increases ATK by 15%/18.75%/22.5%/26.25%/30%, lasting for 15s.
91%
Base ATK : 412
Secondary Stat – ATK : 30.3%
Equipped Resonator gains 6 stack(s) of Oath upon entering the battlefield. Each stack increases ATK by 2%/2.5%/3%/3.5%/4%, up to 6 stacks. This effect can be triggered 1 time(s) every 12s. Oath reduces by 1 stack(s) every 2s. Equipped Resonator gains an additional 6 stack(s) of Oath upon defeating an enemy.
88.6%
Base ATK : 387
Secondary Stat – ATK : 36.4%
When Resonance Skill is released, increases Basic Attack DMG and Heavy Attack DMG by 20%/31%/42%/53%/64%, stacking up to 1 time(s). This effect lasts for 10s and can be triggered 1 time(s) every 1s.
Sanhua Team Comp
Sanhua Best Team 1
Main DPS
Sub DPS – Jianxin/Rover (Spectro)/Yangyang
Jianxin and Yang can gather enemies, helping Sanha achieve maximum burst damage when facing multiple targets. Additionally, Jianxin’s Outro Skill provides Resonance Liberation DMG Deepen, which is suitable for Sanha players aiming for high damage numbers. Rover (Spectro)’s stasis aura also increases Sanha’s burst hit rate against highly mobile enemies and improves Sanha’s survivability.
Healer – Verina/Baizhi
Verina’s healing abilities and Concerto Energy acquisition abilities are both greater than Baizhi’s, making her the preferred healer character. Verina’s Inherent Skill provides a one-time death immunity effect. Baizhi also has a similar effect that is even better, but it requires unlocking at Sequence 5.
Verina’s healing amount is based on her ATK, so Verina has a certain degree of damage output. If you build it well, her damage should not be underestimated.
Verina’s Inherent Skill can provide a 20% attack buff to the entire team, while Baizhi can only provide a 15% attack buff to a single character.
Sanhua Best Team 2
Sub DPS
Main DPS – Jiyan/Calcharo
After using Resonance Liberation, Calcharo’s Basic Attack DMG and Resonance Liberation DMG are approximately in a 1:2 ratio. Sanhua’s Outro Skill can provide Calcharo with a 38% Basic Attack DMG Deepen.
Although Jiyan does not benefit from Sanhua’s Outro Skill buff, Jiyan has low Liberation Energy acquisition efficiency. Without Morfeti, pairing with Sanhua offers better QTE efficency and Liberation Energy acquisition compared to Aalto, which can provide a 23% Aero DMG Deepen.
Due to Sanhua’s excellent rotation lubrication (high Concerto Energy acquisition, high Liberation Energy acquisition, and optimization of its stiffness issue during beta testing), it has been practically tested that using the combo of “Intro Skill > Resonance Liberation > Forte Circuit’s Heavy Attack > Resonance Skill” takes only 2.8 seconds. A single Basic Attack afterward can fully charge Concerto Energy, making Sanhua suitable for almost any team.
Healer – Verina/Baizhi
Verina’s healing abilities and Concerto Energy acquisition abilities are both greater than Baizhi’s, making her the preferred healer character. Verina’s Inherent Skill provides a one-time death immunity effect. Baizhi also has a similar effect that is even better, but it requires unlocking at Sequence 5.
Verina’s healing amount is based on her ATK, so Verina has a certain degree of damage output. If you build it well, her damage should not be underestimated.
Verina’s Inherent Skill can provide a 20% attack buff to the entire team, while Baizhi can only provide a 15% attack buff to a single character.
Sanhua Ascension Material
Rank 1
Req Lv 20



Rank 2
Req Lv 40


Rank 3
Req Lv 50


Rank 4
Req Lv 60


Rank 5
Req Lv 70


Rank 6
Req Lv 80


More Build Guides
Rover
In the current version, you can obtain 4 free Resonance Chains. With the support of the Resonance Chain effect, although each rotation’s damage is lower than that of five-star characters, it is still quite outstanding compared to four-star characters with low Resonance Chains.
However, since there are no additional means to obtain Resonance Chains in the current version, it appears weaker when compared to four-star characters with high Resonance Chains. It is suitable for F2P (Free-to-Play) players to develop. Rover S6 possesses the game’s only RES Reduction effect, which can boost the team’s damage by at least 11.1%, showing future potential.
Rover Havoc
The base stats are much higher than 4-star characters and slightly lower than 5-star characters. However, the Skill Rate and forms are quite excellent, featuring different attack modes in normal and Dark Surge states. During the burst phase, skill multipliers are comparable to five-star characters like Jiyan or Calcharo.
After entering Dark Surge, it boasts outstanding single-target damage output, and the high multiplier Resonance Liberation along with the Echo “Dreamless” also provide decent AoE capabilities.
Verina
After the strengthening in the OBT, the consumption rate of Photosynthesis Energy has been greatly increased. Consuming one layer of Photosynthesis Energy grants 12 Concerto Energy, significantly reducing Verina’s on-field time requirement. At the same time, her Healing Efficiency has been greatly improved, addressing the awkward situation during CBT3 where she couldn’t keep up with Baizhi.
Due to the special nature of the Healer role’s Outro Skill, a healer is essential for the Main DPS to deal maximum damage, underscoring Verina’s indispensability. Additionally, since Verina’s healing is based on her attack power, she also possesses output capability, which, though not outstanding, is still significant. Of course, this is contingent on Verina being built correctly.

